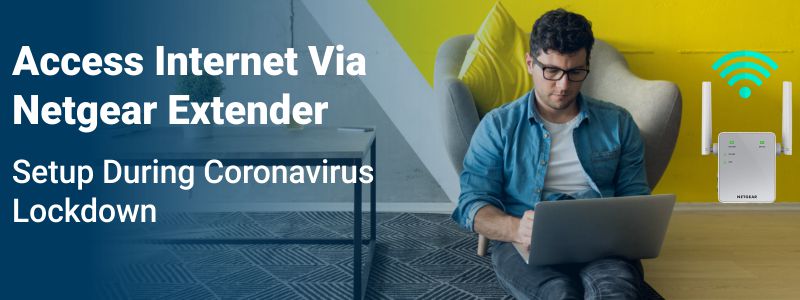
Access Internet Via Netgear Extender Setup During Coronavirus Lockdown
There is no denying the fact that Covid-19 has brought the entire world on its knees. Millions have lost their jobs and others are trying to save theirs by working from home. Considering this, we understand how important the need for a blazing-fast internet has become. And, that is why we recommend you to perform Netgear extender setup.
For those of you who are wondering how to do so, what are we here for? In this blog post, we’ve mentioned three different setup methods through which you can set up a Netgear extender in your home and get access to the internet from LITERALLY every nook and cranny of your house.
What Are the Methods to Perform Netgear Extender Setup?
Listed below are 3 different ways through which you can easily set up a WiFi extender:
- By pressing the WPS button
- By accessing the mywifiext setup wizard
- By using an Ethernet cable
Which method you would want to implement is a decision that we leave to you. Just know that in case you get stuck at any point while setting up an extender in your home, then you are free to get in touch with our experts.
1. Netgear Extender Setup by Pressing the WPS Button
Here are the step-by-step guidelines that you ought to follow in order to set up a Netgear WiFi range extender using the WPS method:
- Plug your Netgear extender into the wall socket and switch it on.
- Look for the WPS button on your WiFi device.
- The WPS button is usually located at the bottom of an extender.
- Once found, press it carefully for a couple of seconds.
- Once the LED light becomes stable, release the button.
- Now, relocate your Netgear WiFi range extender.
And with that, you’ve successfully set up a Netgear extender by pressing the WPS button.
2. Netgear Extender Setup by Accessing Mywifiext Setup Wizard
Another way to set up a WiFi range extender is by accessing the mywifiext setup wizard. Mentioned below are the instructions for you to consider to perform Netgear extender setup by accessing mywifiext:
- Connect your WiFi device to the Netgear_ext network.
- Then, launch an internet browser on your laptop or computer.
- Go to the www.mywifiext.net administrative page.
- Enter the default login credentials in the given fields and click on the Log In button.
- Within a couple of minutes, the Netgear mywifiext setup wizard will appear.
- Follow the prompts displayed and finish setting up your Netgear range extender.
This is how to set up an extender by accessing the mywifiext setup wizard.
Note: In case you aren’t able to access the mywifiext setup wizard in a hassle-free manner, then we recommend you to take the help of our highly qualified technicians. Simply contact us and get immediate assistance.
3. Netgear Extender Setup by Using an Ethernet Cable
Last but not least, using an Ethernet cable is another way through which you can perform Netgear extender setup and access the internet while working from home.
Outlined below is how to install an extender by using an Ethernet cable. Thus, read on.
- Create a connection between the extender and home router.
- Make use of an Ethernet cable to connect both your WiFi devices.
- Then, access the mywifiext web page by using the default web address.
- Once the Netgear genie dashboard appears, follow the on-screen instructions.
And there, you successfully performed Netgear extender setup by using an Ethernet cable.
Now, you are free to connect as many with your extender as you want. Also, you won’t have to worry about not being able to access the internet while working from home anymore.