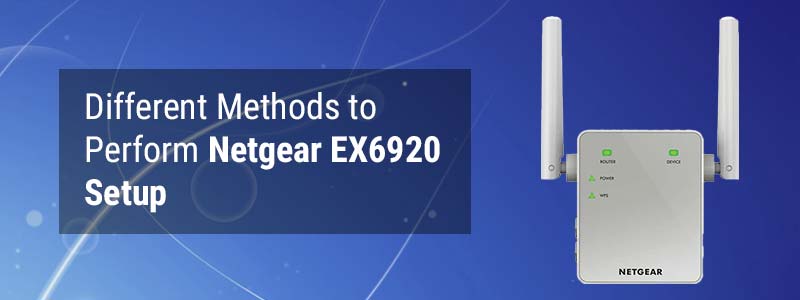
Different Methods To Perform Netgear EX6920 Setup
If we talk about one of the most popular extender models in the market, the Netgear EX6920 WiFi range extender is the first name that comes to mind. Although it is small in size, it’s known to extend your home network to a great extent. Also, the high WiFi speed that it provides is perfect for you if you love online gaming. If you want to get benefit from the Netgear EX6920 extender, it is important for you to know how to set it up. Honestly speaking, performing Netgear EX6920 setup isn’t that big of a deal. But, in case you feel a little confused about how to go with the setup process, then we are here to guide you.
With the help of this post, you will learn about the two different methods through which you can set up your Netgear extender. First, by using the web interface and second by pressing the WPS button.
Netgear EX6920 Setup By Using Web Interface
Follow the instructions mentioned below to set up your Netgear EX6920 WiFi range extender with the assistance of the web interface:
- Place your Netgear WiFi extender and router in close proximity for a good signal connectivity.
- Plug the Netgear EX6920 WiFi extender into a wall socket and press the Power button.
- See whether the power LED light has turned solid green or not. If it has, build a connection between both your extender and router with the help of an Ethernet cable.
- Once both your WiFi devices get connected, switch your laptop on to proceed further.
- Launch a web browser, preferably Google Chrome, Mozilla Firefox, or Microsoft Edge.
- Then, enter mywifiext.net in the address bar of the web browser that you just launched and press the Enter key.
Note: Is the default web address mywifiext.net not working? Well, in that case, you can use the IP address of your Netgear EX6920 extender.
Are you still facing issues while logging into your Netgear EX6920 extender? Well, there is nothing to worry about. You can get in touch with our experts.
- Now, wait for the Netgear extender login page to appear.
- Once it does, you are required to fill in the default username and password. You can refer to the Netgear manual if you aren’t sure about the extender login credentials.
- Have you filled in the default login details? Now, proceed further by hitting Log In.
- As soon as the Netgear Genie Setup Wizard displays on your laptop screen, follow the on-screen instructions carefully.
Congratulations! By following the on-screen instructions, you have successfully performed the Netgear EX6920 setup. Great job done!
Now, it’s time that you get familiar with the second method to set up your Netgear extender – The WPS method. Keep reading.
Netgear EX6920 Setup By Pressing the WPS Button
One of the easiest Netgear extender setup methods to perform, the WPS method is used by millions in every corner of the world. You should try it too.
In order to set up your Netgear EX6920 range extender by pressing the WPS button, walk through the steps outlined below:
- Firstly, ensure that your Netgear extender as well as your home router are kept far away from transmitting appliances, e.g. Metal objects, cordless phones, reflexive surfaces, and Bluetooth devices. The reason being, such appliances can hamper the productivity of your Netgear EX6920 WiFi range extender. And you wouldn’t want that, right?
- Now, place both your WiFi devices in the center most location of your house for an excellent WiFi experience.
- Once done with the placement, locate the WPS button on your extender while performing Netgear EX6920 setup.
- Did you find the button? If the answer is yes, press the WPS button and wait for some time.
- The minute you release the WPS button, change the location of your Netgear extender.
And you are done! Now, you can test your Netgear EX6920 range extender by moving your laptop to the dullest and deadliest zone of your house.
Conclusion
This was all about the different methods to perform Netgear EX9620 setup. We covered each and every point that you would need to keep in mind while setting up your Netgear WiFi range extender. If you get stuck at any point, you can contact our team of technical experts anytime.