Mywifiext.net Create Account Process [Step-by-Step Guide]
If you are a tech geek, then you might be aware that accessing mywifiext.net is important if one needs to go to the admin panel of the Netgear extender and change its various settings like hide SSID, update firmware, change www mywifiext net login password, and much more. In order to do all these things, one should mywifiext.net create account.
Now, you would be pondering about how to do so, right? Well, it is quite simple. Though you will easily be able to go about the process by making your way to the information presented in the manual, in case you are not able to, read the steps given in the blog.
How to Mywifiext.net Create Account?
1. Connect to the WiFi Network
The primary step for the commencement of the process is to make your client device join the WiFi network of the Netgear wireless range extender. This can be done using a couple of methods. To know more about each, read this information,
Wired Connection: Get your hands on a cable. Connect one end of the cable to the port on the extender and another to the router. Ensure that you hear a click sound to establish a finger-tight connection.
Wireless Connection: In case of a wireless source, select the taskbar, click on the network name which you want to connect to, that is the network of the extender, enter the password, and click the Connect button.
2. Load an Updated Web Browser
As soon as you have joined your devices, load a browser on your client device. By client device, we are referring to the computer or laptop, whatever you are using. Ensure that it is not functioning on an outdated version.
Locate the address bar on the top of the browser and enter mywifiext.net there. While doing so, ensure that there are no typing errors in the entrée. Also, whether the Caps Lock key is on or not, will hardly make a difference.
3. Create Mywifiext.net Account
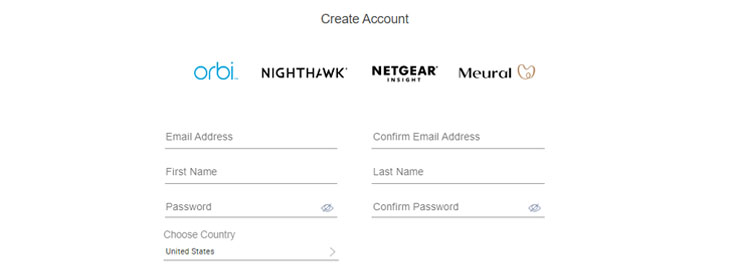
Pressing the Enter key will take you to the new page. This page is named New Extender Setup. Here, you need to mywifiext.net create account. The same can be done if you put your Email Address and Password to use.
As soon as you are done entering these details, answer the Security Questions and then click the Next button to go further with the process. You will be prompted by the error message saying “Your WiFi extender is not connected to the host router”.
4. Select the Existing WiFi Network
Click the Yes button. Once done, select the existing WiFi network that you want to extend. In case you are not in the mood to extend both 2.4 GHz and 5GHz WiFi networks, then you may deselect the WiFi band. Select the Next button.
Now, you need to enter the network key. This needs to be done for not just 2.4 GHz but also 5 GHz networks. Once done, click the Next button. Soon, you will be asked to enter a network name for the WiFi network which is extended.
Know that you can select the” Same as Existing Network Password”, “Use a Different Password”, or “None” for the extended network WiFi password. The minute you have done this, to wrap up, click the Next button.
What Now?
Given you successfully being able to mywifiext create account; you can now easily have WiFi access on your client devices. To learn how this can take place, you need to search for instructions regarding the same.
But, right before you do so, it is recommended that you finish setting up your networking device via the mywifiext address. For your information, in case this web address refuses to work for you, then might be because you are using a Mac device.
In this case, you ought to access the mywifiext.local web address. For more information regarding the same web address, feel free to refer to the user manual that you got with your Netgear range extender or booster.
Wrapping Up
This wraps up the guide talking about how to mywifiext.net create account with easy-to-use instructions. We hope that you liked reading this blog. To get acquainted with similar topics in the future, visit this website often.